Foreword
For those of you that don’t personally know me, and therefore haven’t witnessed the slow descent into madness that comes every fall to haunt me, welcome. It’s not an aversion to the falling leaves, warm sweaters, or a scroogish hatred for all things Thanksgiving that torment me so, but the annual International Supercomputing Conference (SC).
I’m a part of the team that participates in the Student Cluster Competition at SC, where we are allowed to bring any hardware we want on a three kilowatt power budget and are challenged to run 6 high performance computing applications in a short timeframe. To get everything done on time you need a solid system, and behind every great system is a great sysadmin… or me, frantically trying to learn how to manage a supercomputer.
So yeah, every fall semester SC comes in like a wrecking ball and destroys my academic life, eating up a month of time in the middle of the semester. But hey, catching up on work frantically during Thanksgiving break is fun, right?
Introduction
This is the first post in a series of blog posts discussing setting up a Linux high-performance computing cluster. I assume that you are comfortable with Linux, if you’re not I’d strongly recommend that you don’t embark on this endeavor and instead familiarize yourself with using Linux. Digital Ocean provides a nice introduction to the Linux command line, but nothing compares to using the real deal for a while. You’ve got to crawl before you run a marathon, and believe me, this is going to be a marathon.
So, what is a ‘cluster’? Simply put, a cluster is a set of discrete computers that are connected together to act as a larger machine. This is a departure from older supercomputers, like the Cray II, which were more like one massive very powerful computer. It… actually is a bit like the horse-sized duck question. The decline of the supercomputer as one massive machine is actually due to how far modern CPU and GPU processing has come - there’s no way to make them better by making them bigger anymore.

This is partially due to modern microprocessors being limited by manufacturing yield. Processors are manufactured on silicon crystal wafers, which have a random scattering of defects. The larger the chip, the more likely it is to contain one of the random defects (and thus, not work).
Since clusters are just multiple machines acting together, let’s start with the first problem - networking!
Well the first problem is really provisioning machines, and installing an OS. But let's assume for now that you are pre-provisioning machines by hand. If you want to skip to setting up PXE booting then come back to this, power to you.
Basic Network Architecture
Switches Vs. Routers
There’s a lot of tangled up vernacular surrounding networking, so I’d like to have a quick discussion on the difference between routers and switches. The difference in their functions can be best understood by figuring what level of the OSI stack they operate at.

The lowest level of the stack, the physical layer, is accomplished in modern times by the hardware inside network-interface-cards (NICs) that electrically transmit information over Ethernet cables. It’s the electrical bedrock of networking, but easy to conflate with the role of the data-link layer because a NIC comes with a preset MAC address for each interface.
Network interfaces are also called "ports", but an Ethernet "port" is really the receptacle for the cable and a part of the physical layer. The interface is the level-2 device that runs on top of the port, and is what the Networking stack runs on top of.
The data-link layer handles the transmission of data between connected machines. As the OSI stack suggests this layer runs on top of the physical layer, meaning the physical layer translates the content that the data-link layer wants to transmit into physical signals and transmits them over Ethernet (or WiFi, or any other physical layer implementation). While an interface can only have one cable attached to it’s port, that interface can receive frames from multiple machines, which it sees as being “connected” to it at this layer. Those machines that the machine are connected to at the data link layer are considered a local-area-network (LAN).
Switches operate as level-2 devices. They connect multiple machines in a LAN, receiving frames on their many interfaces and sending them out the appropriate interface towards their eventual destination. The arbitration of where to send a frame is done by the target MAC address packed within it, but the switch itself doesn’t have a MAC address. It’s transparent at the data-link layer.

Routers and computers operate as level-3 devices. They have internet-protocol (IP) addresses, which is used to identify machines as part of a network (MAC addresses only identify adjacent machines). Routing is a process by which packets are sent through a gateway machine (a router), escaping the LAN to zip through the wide-area-network (WAN) to their eventual destination.
You’re likely very used to seeing routers with antennas and multiple ports on the back-end. The antennas aren’t a part of the “routing” that the router performs, but act as a wireless-access-point (WAP). It’s another kind of level-1 device, but doesn’t matter in the scope of this post. The multiple ports are actually a level-2 switch that’s slapped into the same case as the router, because it’d be a massive pain if routers came with only one port and you had to bring your own switch to connect more than one device to it (and I mean, why route a LAN of only one device?).
The Cluster’s Networking
For our modest cluster, we’re going to have a LAN that connects our nodes together, and a router to connect our LAN to the WAN. Since routers typically have a four-port switch built-in, we could have a simple router connecting our four nodes, as shown below.

However, this isn’t scalable: what if we want to connect more devices to the LAN? Luckily, the mighty Ethernet switch comes to the rescue! A good rack-mounted switch has 24 ports, enough to be sure we won’t run out anytime soon. Since switches operate as transparent level-2 devices, we can add them to our network and nobody would know the difference.

If this were a server in the modern cloud, where 100-percent uptime is required, we’d need more redundant networking hardware (seriously, if a piece of networking hardware has a 0.1% chance of failing in a massive data center, you’ll have one failing every hour), but for a small cluster this is perfectly fine.
This architecture looks pretty good, and I wished it worked. It would, if you were connecting it directly to the internet (or had a more rational IT department), but the server closet we have is managed by Northeastern’s IT, and boy-oh-boy they do not want you attaching a switch or router to the Ethernet ports they provide you. I suspect that if they see more than one MAC address on the frames coming through that port they assume there’s a switch and shut it down, and also snoop for ICMP Router Discovery Protocol messages (which would imply that a router was connected to the port).
After a discussion with IT, I discovered that their ‘vision’ for how clusters on the local network should operate is that they should have a head-node, which also connects the other nodes to the internet. “But wait!” you may protest, “Isn’t any device that forwards traffic between a LAN and WAN a router! This rule makes no sense!”… yup. I wrote a 2 page proposal detailing the architecture that I wanted to setup (the same as the one above) and explaining why we should have a dedicated router, and… radio silence. Come on Northeastern.
Luckily, we can make our own head-node router! With blackjack and…
well, you know the
rest. We’d actually want to do this anyway, because it’s unlikely that we would
ever have a server-grade
router around, and consumer routers are pretty trash. Also,
there are a couple of services (DNS, DHCP, TFTP, FTP…) that we’d want running
on our router that only could be set up on a professional router. So, how could
we possibly build a router that’ll meet these needs? Won’t it be a hard task?
Setting Up the Head-Node
Assigning A Static Interface
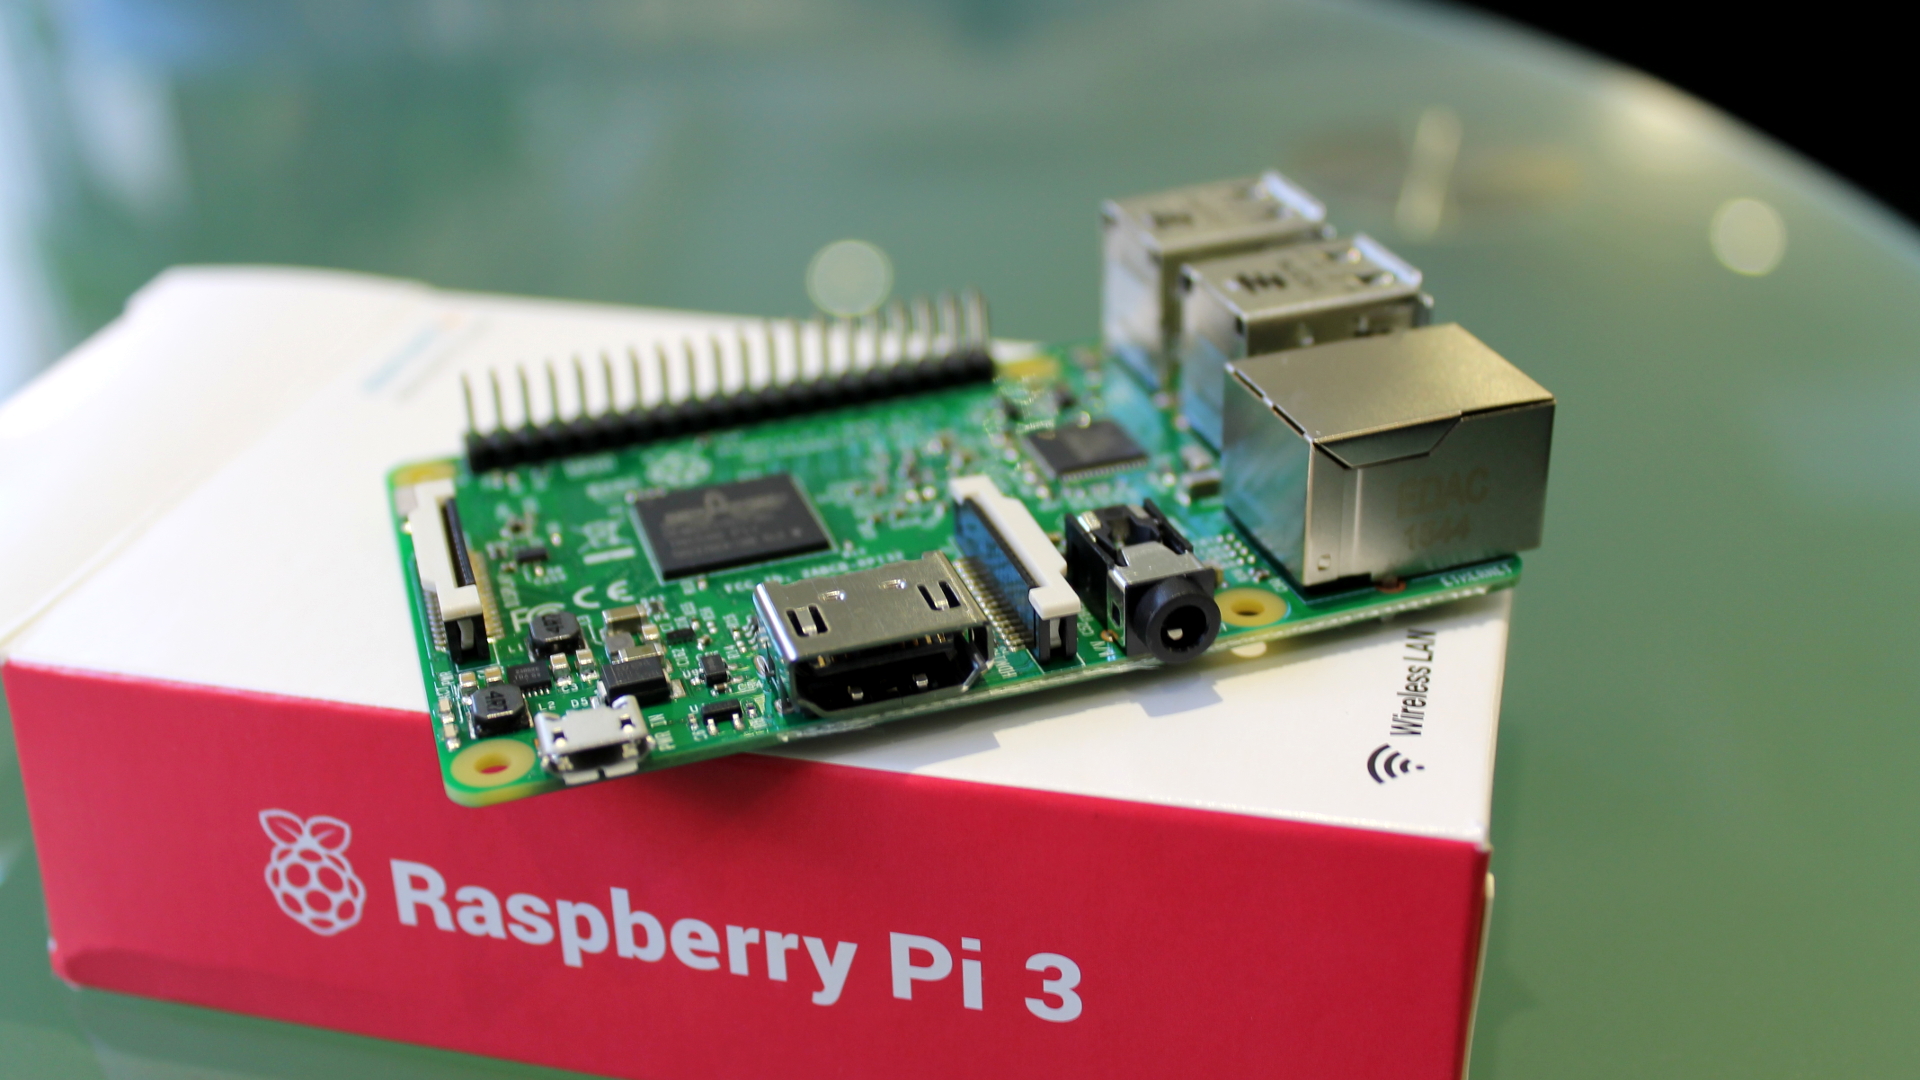
Before all else, you’ll need to identify a Linux machine to use as your router. We’ll assume you’re using a Pi, but there’s nothing hardware specific here. If you have a Pi and haven’t set it up yet, here’s their getting started guide.
As you’ll notice, the Pi has only one Ethernet port, and you’ll need two to connect it to two networks at once. Have no fear, $10 USB-Ethernet adaptors are here! I wish that there were Ethernet Pi hats (The chips are SPI so it should be easy), but adaptors work. Since the on-board NIC is probably faster than the USB adaptor, let’s point that one towards the WAN.
When the Pi is booted up and connected to the WAN, do a quick check if it’s
connected to the internet (ping google.com is always a safe bet). Attach the
USB adaptor and run ifconfig -a. The interface that doesn’t have an IP address
assigned to it (and probably has a wonky name) is the USB interface. Open
/etc/network/interfaces.d/<usb-interface> and copy in the below text. This
will configure the interface on each boot of the device. Run ifup <usb-interface>
after that to bring the interface online.
auto <usb-interface>
iface usb-interface inet static
    address 10.0.0.1
    netmask 255.255.255.0
Dynamic Host Configuration Protocol
If so-far the LAN is simply the dongle hanging off the Pi with nothing connected to it, now is a good time to grab a switch and connect the adapter to it.
At this stage, if you connected another machine to the LAN, it’d receive no IP address and be unable to connect to any other devices. DHCP allows machines to ‘ask’ the LAN to assign an IP address to them, which saves end-users from having to manually edit interface files (like we just did above) whenever they wish to connect a new device to a network. Usually a DHCP server runs on the router, a choice we’ll mirror.
DNSMASQ is a DHCP+DNS server, which we’ll use to setup a DHCP server on the Pi
for now. Install it with apt install dnsmasq to install it. Then, make a
backup of /etc/dnsmasq.conf and replace it’s contents with those below this.
After that, run systemctl restart dnsmasq to reload the configuration and we
should be good to go.
#/etc/dnsmasq.conf
domain-needed
bogus-priv

listen-address=127.0.0.1
listen-address=10.0.0.1
bind-interfaces

# Not necissary to set if machine running DNSMASQ is the router, but if not
# included in config I'll definitely forget later (if I make another machine the
# gateway)
#dhcp-option=option:router,10.0.0.1

dhcp-range=10.0.0.50,10.0.0.200,4h
Connect another machine to the LAN switch, and check ifconfig to see if it
was assigned an IP address. If it was, try to ping the Pi at 10.0.0.1.
Hopefully, all is well. If it’s not, run dhcpcd <interface> on the machine
to attempt to grab a DHCP leased IP. If that doesn’t work, hopefully the error
message is meaningful.
Of course, being assigned an IP address isn’t enough for our networking needs. A quick attempt to ping the outside world shows us that our new machine isn’t able to talk to anyone outside the LAN. Poor fella, let’s fix that next.
Network Address Translation
Our DHCP server is informing the machines on the LAN that the machine it’s on is also the router, but we haven’t yet set up routing. This process is achieved by network-address-translation (NAT), where one IP on the WAN (the routers IP) acts as a gateway to all of the IPs on the LAN. It maintains a NAT table, tracking where packets coming to it should be readdressed to inside the LAN, and where packets from the LAN should head off to.
Linux won’t allow IP forwarding by default (as it can be a security hole), so
pop open /etc/sysctl.conf in an editor, find net.ipv4.ip_forward and set it
equal to 1. Then run sysctl -p to reload the configuration. Run the below snip
of code with $WAN set to your WAN interface and $LAN set to your LAN
interface to setup NAT. It’s a bit of black magic lifted from the scripts I used
to manage the cluster at SC, which I developed in reference to Kill -9’s building
a ubuntu router series.
On the guest machine (not the Pi) try once more to ping the WAN (google.com’s a
reliable one to ping). If you can reach it, great! If not, your routing table
might be stale (especially if you had the computer connected while setting up
DNSMASQ). Run ip route show to see what routes it has, and if you don’t see
something similar to default via 10.0.0.1, run ip route add default via 10.0.0.1
to tell that machine to look to the Pi as a gateway to the internet.
Domain Name Service
The final piece of the the puzzle is setting up DNS for the cluster. This sounds
a bit unnecissary, but hear me out: with a DNS server, you can address all the
nodes by name without having to maintain a /etc/hosts file on each machine,
which makes adding and removing machines silky-smooth.
DNSMASQ also runs a DNS server by default, serving up the addresses available in
the hostfile of the router. To add our nodes to the DNS server, we’d open
/etc/hosts and add the following content:
10.0.0.25 worknode_1
10.0.0.26 worknode_2
10.0.0.27 worknode_3
10.0.0.28 worknode_4
Note that the IP addresses can be outside the range set for the DHCP server to
assign from, so long as they’re within the 10.0.0.0/24 network. There’s one
last thing to do here; open /etc/dnsmasq.conf and append the below, then
restart once more with systemctl restart dnsmasq.
dhcp-host=aa:bb:cc:dd:ee:ff,worknode_1
dhcp-host=aa:bb:cc:dd:ee:ff,worknode_2
dhcp-host=aa:bb:cc:dd:ee:ff,worknode_3
dhcp-host=aa:bb:cc:dd:ee:ff,worknode_4
That’s it! The networking should be good to go.
Afterword
Boy, this got long fast. Thanks for sticking around for the ride. Next post I’ll be discussing Ansible, an automation tool which makes maintaining the state of a cluster managable. Ta-ta for now.